Compiled by Jay — Former Royal Marines Commando
Updated
In the Royal Marines, we carried a small survival kit as part of our general equipment. We kept it in our webbing, the belt, and-pouch system that stayed with us when our main Bergen rucksack came off.
The thinking was straightforward: if we became separated from the Bergen, we would still have a small reserve of useful equipment on us.
That is the principle behind a survival tin. It is a compact, last-resort kit, put together for the situation you hope never happens. Its purpose is to give you a few useful options when your normal equipment is no longer available.
For bushcraft, I consider having emergency equipment essential. The important part is carrying it, understanding it and choosing it for your surroundings, not simply owning a tin.
A Backup That Stays With You
A survival tin cannot replace your normal camping equipment, drinking water, clothing, first-aid kit or means of calling for help. It is a small additional layer of preparation.
Think about what remains with you when you put your rucksack down. A secure pocket or belt pouch can keep your emergency kit accessible. Putting the entire backup inside your main pack defeats its purpose if you become separated from that pack.
The webbing example comes from my own service experience. The contents below combine my recommendations with researched survival-kit ideas. They are a starting point, not an official Royal Marines issue list or a kit that suits every environment.
Choose Your Container
A small metal tin is a practical way to keep the contents compact and organized. Choose one you can comfortably carry, open and repack. Check its internal dimensions before selecting equipment.
Many tins are not fully waterproof. Protect moisture-sensitive items in small sealed bags. Duct tape around the lid joint can help keep moisture out and provide a small supply of repair tape, but it does not guarantee waterproofing. An outer waterproof bag adds another layer of protection.
A plastic container with a proper waterproof seal is another option. Check its specifications and the condition of the seal rather than assuming every plastic box will keep water out.
The Tin Can Have More Than One Job
A suitable metal tin can offer additional uses beyond holding your equipment.
If it is specifically suitable for heating water, it may serve as an emergency boiling vessel. Check its construction and the manufacturer’s guidance first; a painted, lined or coated storage tin should not automatically be treated as cookware. Remove the contents and external wrapping before heating it, and never heat it sealed.
A clean, shiny lid may provide an improvised reflector for signaling. Some survival tins include a dedicated reflective panel inside the lid. Check yours beforehand, a dull or painted lid should not be counted on as a signal mirror.
A plastic container may offer better moisture protection, but it cannot serve as a boiling vessel and generally lacks that reflective surface. Choose around the jobs you need the container to do.
Essential Contents
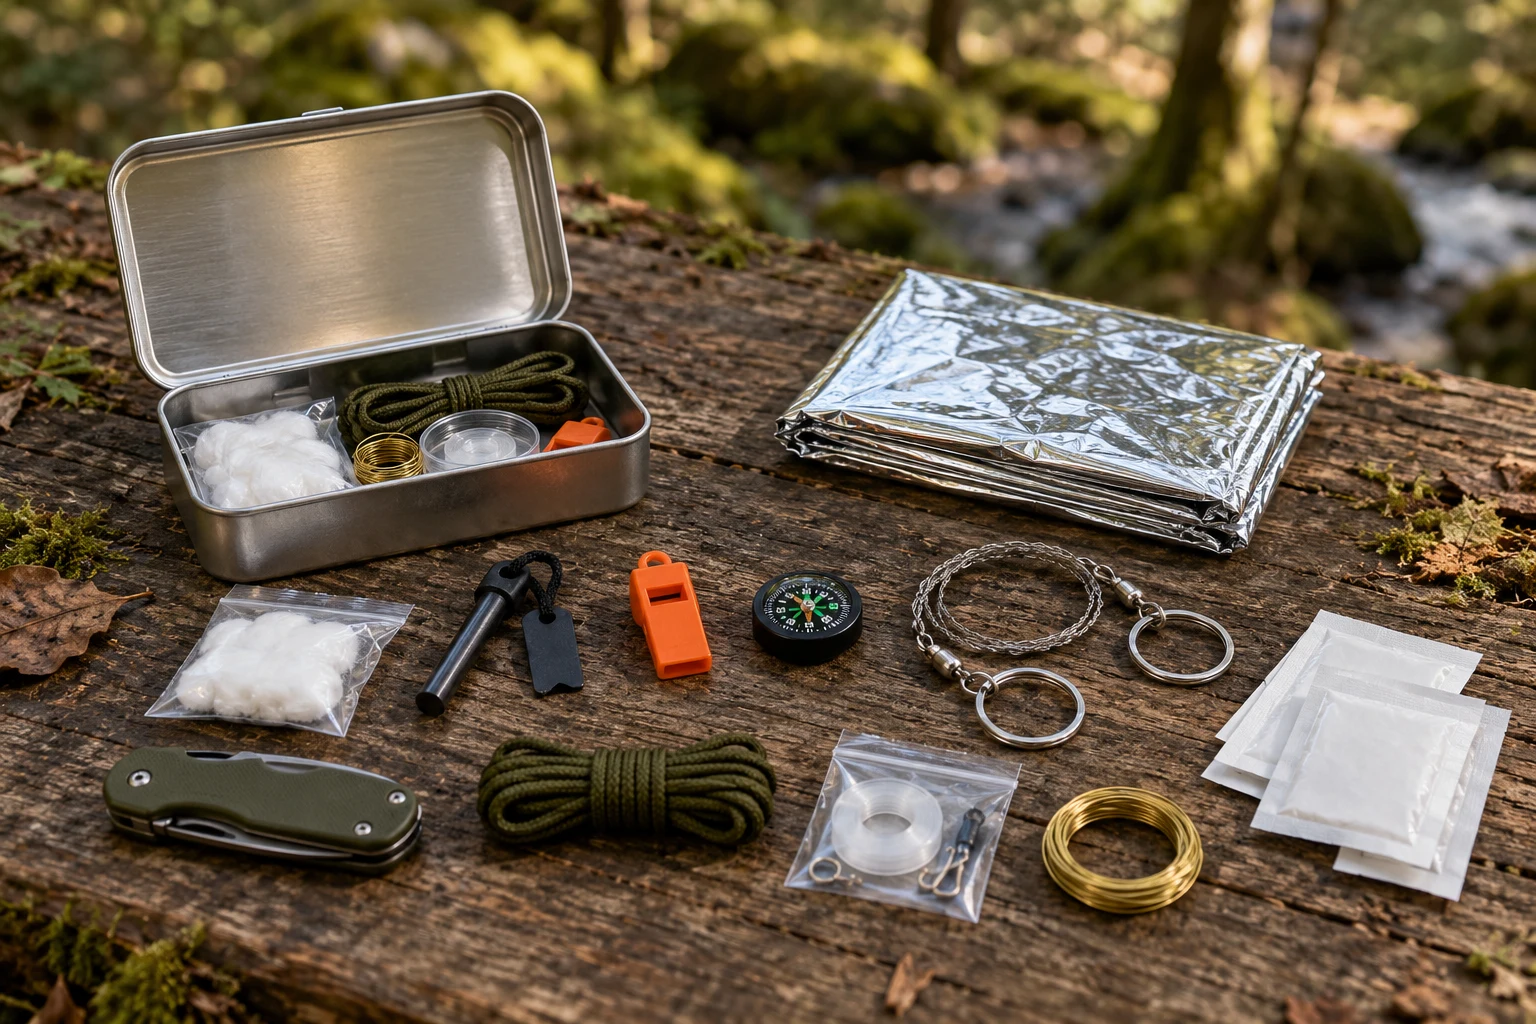
The following items form the core of a compact backup kit. Choose only what suits your environment, skills and existing equipment.
1. Fire-Starting Equipment and Cotton Wool
Carry a dependable ignition method and a sensible backup. Options include a small lighter, protected matches, or a ferro rod and striker.
Choose equipment you can actually use. A ferro rod produces sparks, but you still need suitable tinder and practice.
Muster Point recommendation: A small amount of cotton wool is a simple, inexpensive tinder option that takes up very little space. Keep it dry in a small sealed bag, then tease the fibres apart before lighting it with a match, lighter or sparks from a ferro rod.
Plain cotton wool burns quickly, so have your dry kindling ready before lighting it.
Follow local fire restrictions and account for wildfire risk. Your emergency plan must still work when lighting a fire is unsafe.
2. Water Collection and Treatment
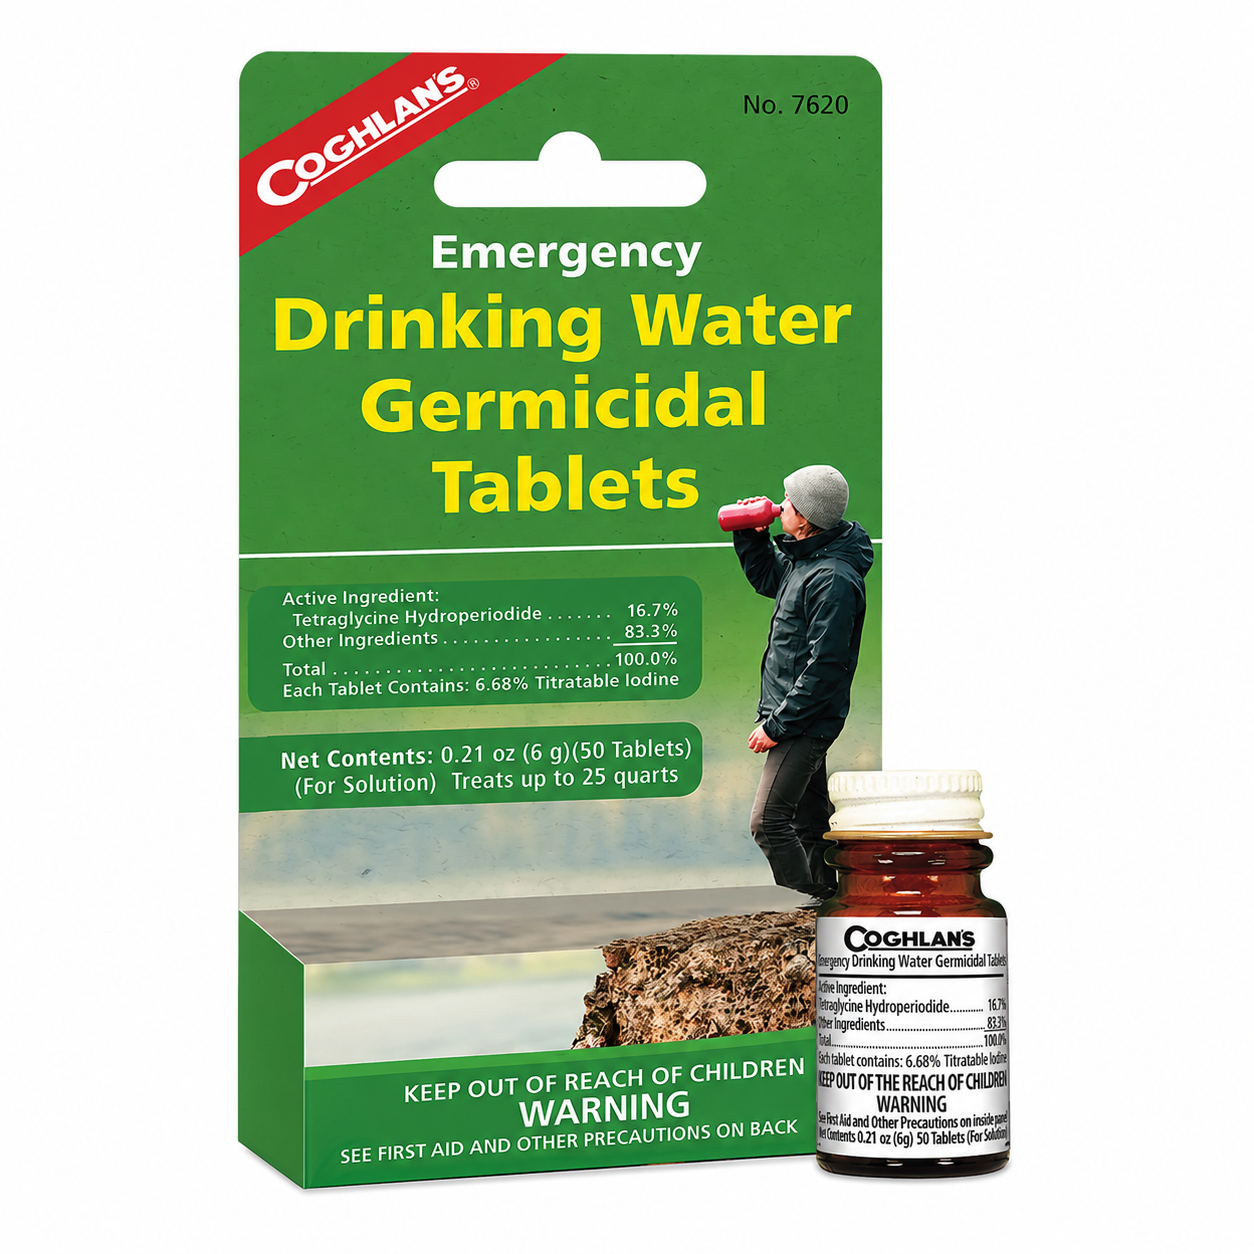
Water-treatment tablets can fit neatly into a survival tin. Keep them in their original sealed packaging with their instructions and expiry information. Follow the particular product’s dose, contact time and limitations.
You also need something suitable to hold the water. A compact foldable water bag can sit inside the tin if space allows, or alongside it. Know its volume so you can measure treatment correctly.
An Improvised Water Carrier
One compact option I remember from our survival kits was an unused, unlubricated condom, carried as an improvised emergency water container. It took up very little space and gave us another option if we became separated from our main equipment.
It is a last-resort solution: awkward to fill and vulnerable to punctures. A purpose-made water bag is preferable when space allows.
Collecting water does not make it safe to drink. Clear-looking water can contain harmful organisms, and ordinary disinfection does not make chemically contaminated water safe. Plan your water supply and choose an appropriate treatment method before your trip.
3. A Whistle and Signal Mirror
A small whistle is useful for attracting attention if you become lost or need help. Keep it accessible and check that it works before setting out.
A compact signal mirror provides another way to attract attention. Practise its aiming method beforehand so you know how to use it when needed.
If you intend to use the tin lid as an improvised reflector, check that it is suitable. Do not assume it performs as well as a purpose-made signal mirror.
For a civilian emergency, getting found is a priority. Choose signalling equipment with that purpose in mind.
4. A Button Compass
A button compass is a compact addition I recommend for a survival tin. It takes up very little space and provides a backup way to check direction if you become separated from your main equipment.
Check that it works before packing it. Take readings away from the metal tin and other equipment that could interfere with it.
It is a basic direction aid, not a replacement for a proper navigation compass, a map or the skills to use them.
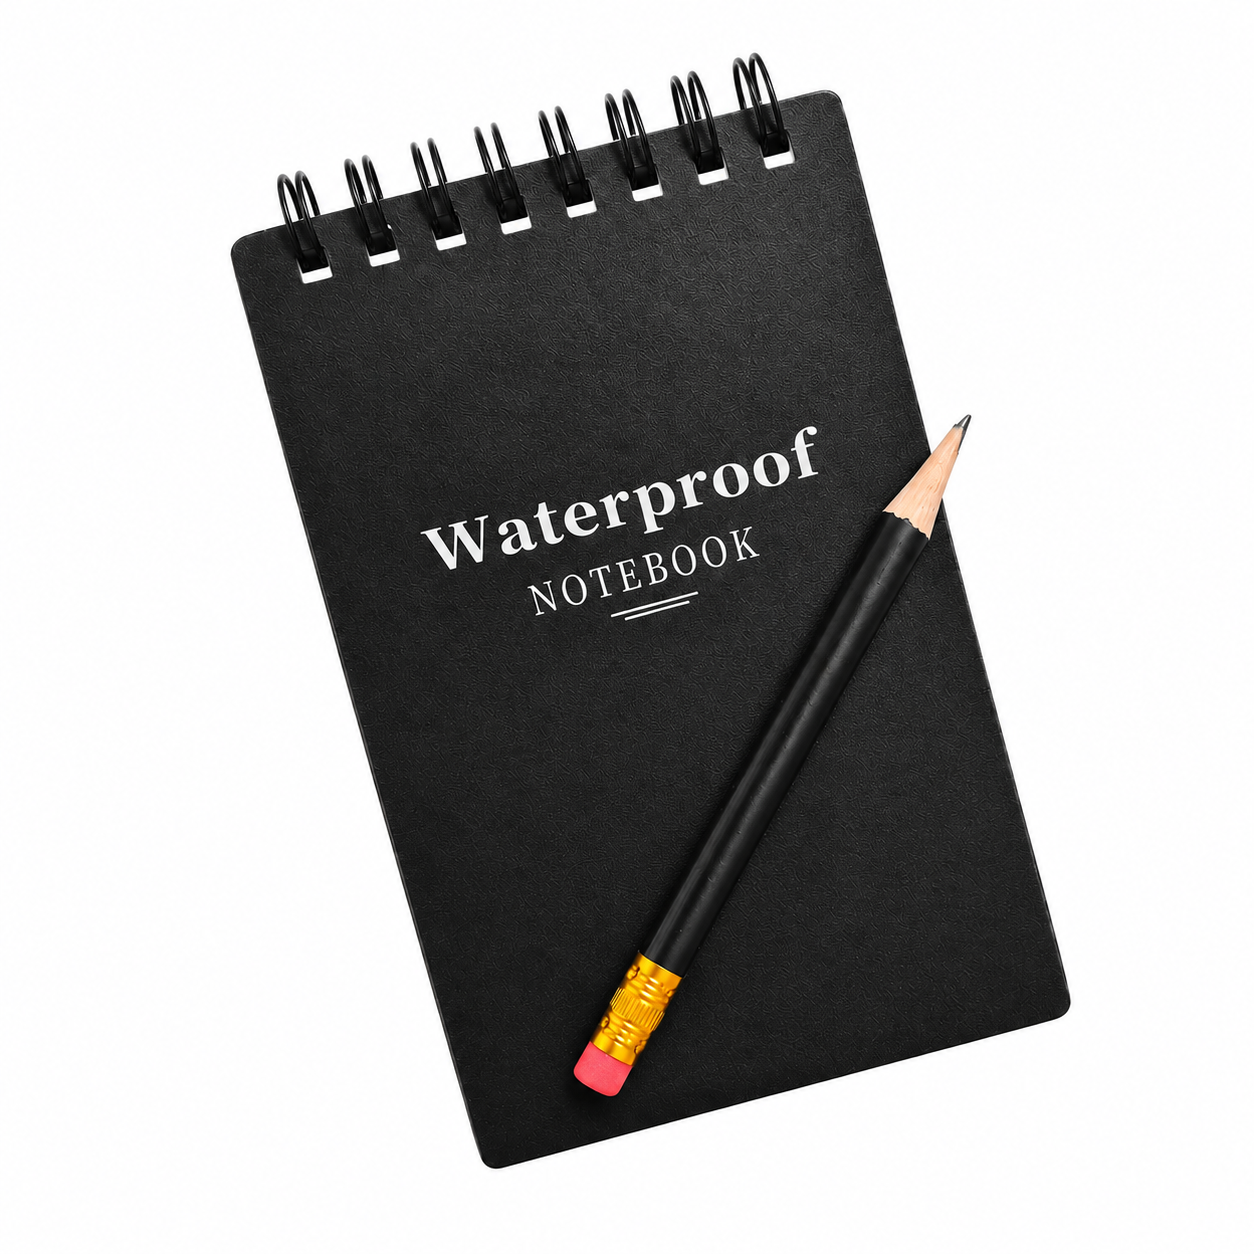
A short waterproof information card can also hold emergency contacts and essential reminders. Keep the writing readable.
5. A Small Pocket Knife
A small pocket knife can provide a backup cutting tool if your main kit is unavailable.
Choose one you can grip and control comfortably, with the blade safely enclosed when packed. A knife that fits inside the tin but is too awkward to use is a poor choice.
Check local carrying rules and practise using it safely before relying on it. If you already carry a suitable knife or multi-tool securely on your person, consider whether another blade adds a useful backup or unnecessary duplication.
6. A Compact Wire Saw
A wire saw is another item I remember from our survival kits. Its main advantage is that it is compact and easy to carry, giving you a small emergency option for cutting wood.
Treat it as a backup rather than your main bushcraft saw. Practise with the particular model so you understand its capabilities and limitations.
Pack it so it cannot damage other contents, particularly waterproof bags and your emergency water carrier.
Optional Contents
These items can add useful capabilities, but they should not displace more important equipment or make the kit too bulky.
7. A Small Amount of Paracord
A short length of paracord can be useful for securing equipment, shelter attachments and straightforward repairs.
Keep it neatly wound so you can use it without dealing with a tangled bundle. If it will not fit inside the tin, carry it alongside the tin in the same pouch.
Learn the knots you are likely to need. General-purpose paracord is not climbing rope or equipment for supporting people.
8. Small Repair Items
A protected needle, strong thread, a few safety pins and a little repair tape can help with damaged clothing or equipment.
Secure needle points so they cannot injure you or puncture packaging. Tape used around the tin may provide a small reserve, provided it remains usable when removed.
These items take up little space, but each should have a purpose you understand.
9. Antiseptic Wipes and Minor First-Aid Items
A couple of individually wrapped antiseptic wipes and adhesive dressings can provide a small backup for minor first-aid needs.
Choose wipes intended for first-aid use and follow their directions. Some are intended for intact skin rather than open wounds.
Keep packets sealed, check expiry dates and replace damaged items. These few supplies do not replace a proper first-aid kit or necessary personal medication.
10. Fishing Hook and Line
A small fishing hook and line take up very little space and can provide another option for obtaining food in a prolonged emergency.
Keep the hook securely covered so it cannot injure you or puncture anything inside the tin.
Include them where fishing is relevant to your surroundings, learn how to use them and check local fishing rules. Treat them as a backup rather than relying on catching food.
11. Optional Snare Wire
Snare wire is another compact item to consider within the traditional military survival-kit approach.
It can provide an option for obtaining food in a prolonged emergency, but carrying it does not mean you know how to use it effectively. Catching rabbits or other wildlife is not something to assume will be straightforward or successful.
For civilian bushcraft, trapping should not be treated as a routine activity. Check local laws and landowner permissions, and understand the risks to non-target animals.
Prioritize getting found, protection from the conditions and water. Carry emergency food rather than making your plan depend on catching it.
12. An Emergency Space Blanket
An inexpensive emergency space blanket is worth carrying alongside your survival tin. It packs down small and can help reduce heat loss and provide some protection from wind and rain.
It adds very little insulation beneath you, so it does not replace a sleeping mat, warm clothing or a sleeping bag.
Keep it protected from punctures. If it will not fit inside the tin, carry it in the same secure pocket or pouch so it stays with your emergency kit.
Keep the Kit Small Enough to Carry
This is a selection of useful options, not an instruction to force every item into the smallest possible box.
Choose around your environment, your skills and what you already carry on your person. Equipment for a woodland outing may differ from what you need in cold mountains, hot conditions or near water.
Some items belong alongside the tin: a small light, emergency shelter, water, food, medication and suitable communication equipment may need their own space.
The objective is a manageable backup that stays with you—not an impressive collection that becomes too bulky to carry.
Practise, Inspect and Replenish
Before packing an item, ask:
- What job does it do?
- Do I know how to use it?
- Is it suitable for the conditions?
- Can I access it when I need it?
- Will it damage anything else in the kit?
Practise with separate supplies where possible. Try opening and repacking the kit, using the signalling equipment and lighting your chosen tinder in a safe setting.
Replace anything consumed during practice. Before each outing, check moisture protection, sharp edges, batteries, expiry dates and missing items.
Final Preparation: The Aim Is to Get Home
Leave your route and expected return time with someone reliable. Carry suitable navigation and communication equipment as part of your wider preparation.
If you become lost, pause and assess your situation rather than wandering. Seek help if you cannot safely regain your route. Once rescuers have your location, stay there unless an immediate danger requires movement, and follow their instructions.
The lesson I take from carrying a survival kit in our webbing is simple: emergency equipment needs to remain with you.
Build a small kit you understand, protect its contents and carry it securely. It is a last-resort reserve that supports your preparation—not a replacement for judgment, training or the right equipment for your trip.
Build Your Own Survival Tin
At Muster Point Outfitters, an empty survival tin can be a starting point for a kit selected around your needs.
Check the dimensions of the tin and the items you choose. Not every accessory will fit, and an empty tin is not a complete survival kit.
Start with useful equipment, learn how to use it and refine the contents through practice.
Explore outdoor accessories at Muster Point Outfitters.
Sources and Further Reading
The service recollections and recommendations above reflect my Royal Marines experience. These sources informed the wider equipment discussion; they do not establish a universal Royal Marines survival-kit contents list.
- BCB International: compact survival-kit functions and Military Survival Kit contents.
- BCB International: Commando wire saw information.
- Scouts: cotton wool as tinder with a fire steel.
- Bob Morrison, Joint Forces: survival-tin contents, reflective lid panels and improvised water carriers.
- National Park Service: Ten Essentials, outdoor emergency planning and water treatment.