Compiled by Jay — Former Royal Marines Commando
Updated October 1, 2026
A good pack needs to carry the equipment you require comfortably, keep it organized and stand up to the conditions you expect.
But choosing the bag is only part of the job. How you load it and protect its contents matters just as much.
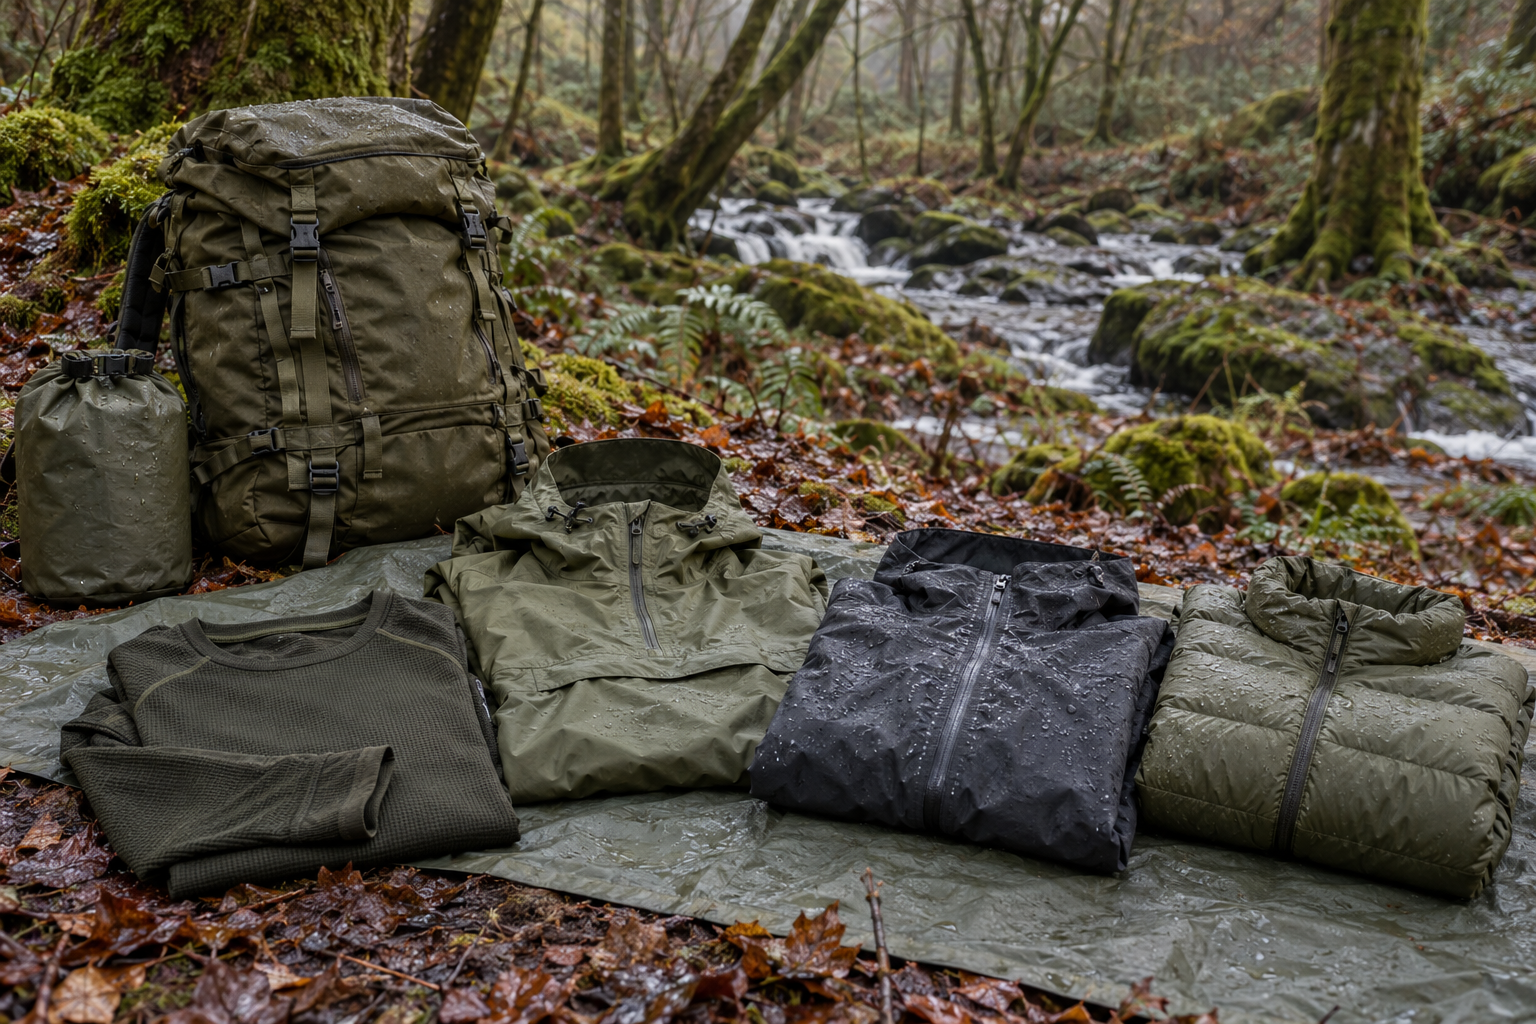
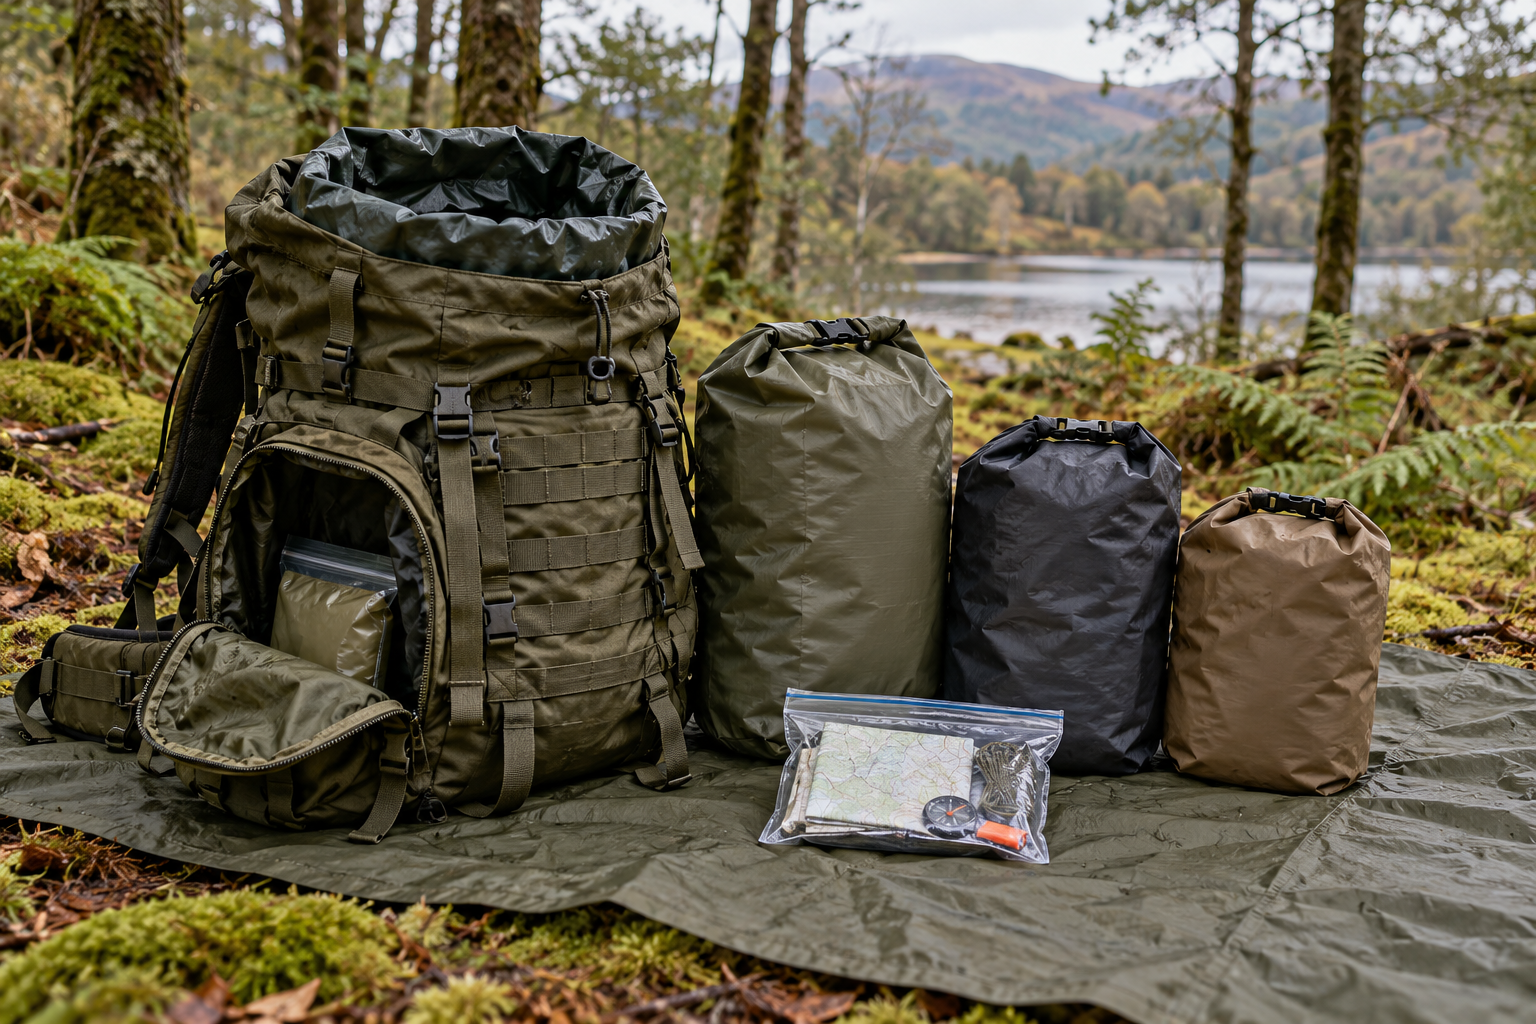
My experience in the Royal Marines shaped my approach to waterproofing. We used a main liner inside the Bergen (rucksack), then waterproofed individual items separately inside it. Everything carried in side pockets or other compartments was individually waterproofed too.
That principle is useful for civilian outdoor trips too: choose a pack that suits you and your equipment, then deliberately protect what goes inside it.
Guidance note: This article combines my service recollections and recommendations with general outdoor guidance. Adapt your equipment to your activity, ability and conditions. It does not replace appropriate training or preparation.
1. Decide What You Need to Carry
Start with the trip and the equipment it requires.
Consider:
- How long you will be out.
- The weather and terrain.
- Your shelter and sleeping arrangements.
- Food, water and opportunities to resupply.
- Spare clothing and emergency equipment.
Lay out your kit before choosing the pack. A short woodland walk and an overnight trip in cold, wet conditions can require very different amounts of equipment.
Avoid buying the largest bag available and then filling the spare space simply because it is there. Equally, do not choose a pack so small that essential equipment has to be left behind or awkwardly attached outside.
The aim is enough usable capacity for your equipment, including its waterproof packaging, without unnecessary bulk.
2. Treat Capacity Figures as a Starting Point
Pack capacity is usually described in litres, but the number alone does not tell you whether the pack suits your trip.
A compact daypack may hold everything needed for a short outing. Overnight or longer trips generally require more room, particularly when you carry bulky sleeping equipment, extra clothing or substantial water supplies.
There is no dependable rule that a particular capacity will suit every overnight or multi-day trip.
Check what the advertised capacity includes. Side pockets and extensions may contribute to the total, and that space may not accommodate larger items.
If possible, try your actual equipment in the pack. You should be able to close it properly, secure the load and retrieve important items without emptying everything onto the ground.
3. Check the Fit with Weight Inside
Comfort deserves serious attention. A pack can be strongly built and still be unsuitable for your body.
Try it with a representative load, wearing the clothing you expect to use outdoors. Adjust it according to the particular pack’s instructions.
Check:
- Whether the back length suits your torso.
- How the shoulder straps sit.
- Whether a load-bearing hipbelt fits and works as intended.
- Whether the load stays stable as you move.
- Whether anything rubs, digs in or restricts movement.
A simple waist strap is not necessarily the same as a padded, load-bearing hipbelt. Military and civilian carrying systems also vary, so one adjustment method will not suit every pack.
Walk around, bend, turn and step up onto something suitable. A few comfortable minutes standing still do not tell you how the pack will feel after several hours.
If you cannot achieve a comfortable, stable fit, reconsider the pack rather than assuming more padding will solve the problem.
4. Pay Attention to the Total Load
The pack itself contributes to everything you carry.
Include water, food, waterproof bags and equipment attached outside when assessing the total weight. A capacity figure tells you how much space is available, not how much weight you should carry.
Pack dense items close to your back and balance the load from side to side. Secure the contents and use compression straps where provided to reduce movement. Keep hard edges from pressing into your back.
Avoid loose equipment swinging outside the bag. Where external attachments are necessary, secure them properly and check that they do not interfere with movement.
Choose a load you can manage over the intended distance and terrain. Test your setup on shorter outings before relying on it for a demanding trip.
5. Protect the Contents from the Inside
This is one of my strongest recommendations: do not rely solely on the pack’s fabric or an external rain cover to keep essential equipment dry.
In the Royal Marines, we used two stages of internal protection:
- A main waterproof liner inside the Bergen.
- Individual items waterproofed separately inside that liner.
Everything carried in side pockets or other compartments was individually waterproofed too. The main liner protected the main compartment; it did not protect equipment stored outside it.
This gave the contents inside the main liner a second line of defence if water got through that liner.
For your own pack, give particular attention to the equipment you depend on remaining dry: sleeping gear, spare clothing, electronics and moisture-sensitive supplies.
Close every bag carefully. Check for punctures, worn seams and damaged seals, and keep sharp equipment from damaging the packaging.
Purpose-Made Liners and Dry Bags
A dedicated rucksack liner and separate dry bags can provide a convenient, reusable system.
Choose sizes that fit your equipment and pack. Follow the closure instructions and check what protection the manufacturer actually specifies. A bag described as water-resistant should not automatically be treated as waterproof or suitable for immersion.
A Budget-Friendly Approach
You do not have to buy an expensive set of bags to start protecting your equipment.
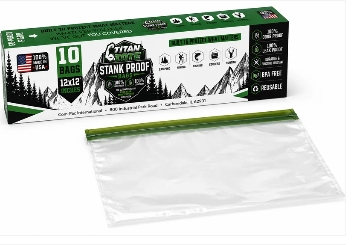
Doubled heavy-duty trash bags can serve as a budget main liner, with suitable Ziploc-style bags protecting smaller items separately. Larger items still need appropriately sized individual protection, including anything carried in side pockets or other compartments.
This approach requires care. Thin bags can tear, sharp objects can puncture them, and poorly closed openings allow water inside. Carry replacements where useful and inspect the bags before each trip.
Two layers provide useful backup, but only when both are intact and properly closed.
Where an External Rain Cover Fits
Some civilian rucksacks come with a cover that fits over the outside of the bag.
A cover can help reduce rain reaching the pack fabric. It is a useful additional measure, but it may leave openings around the harness or other areas, and you may need to move it to reach certain pockets.
My recommendation is to protect essential contents internally even when you use a cover. Treat the cover as an addition to that system.
Keep wet equipment separate from your dry reserve, and protect the contents while opening and repacking the bag in poor weather.
6. Organize Around What You Need to Reach
Useful organization is about access, rather than simply having more pockets.
Think about what you might need while moving or shortly after stopping:
- Water and food.
- Waterproof clothing.
- An insulating layer.
- Navigation equipment.
- First-aid supplies.
- Lighting.
Give these items deliberate locations. Keep your packing arrangement consistent so you know where to look.
You should not have to expose your sleeping equipment and dry clothing to rain just to retrieve a waterproof jacket.
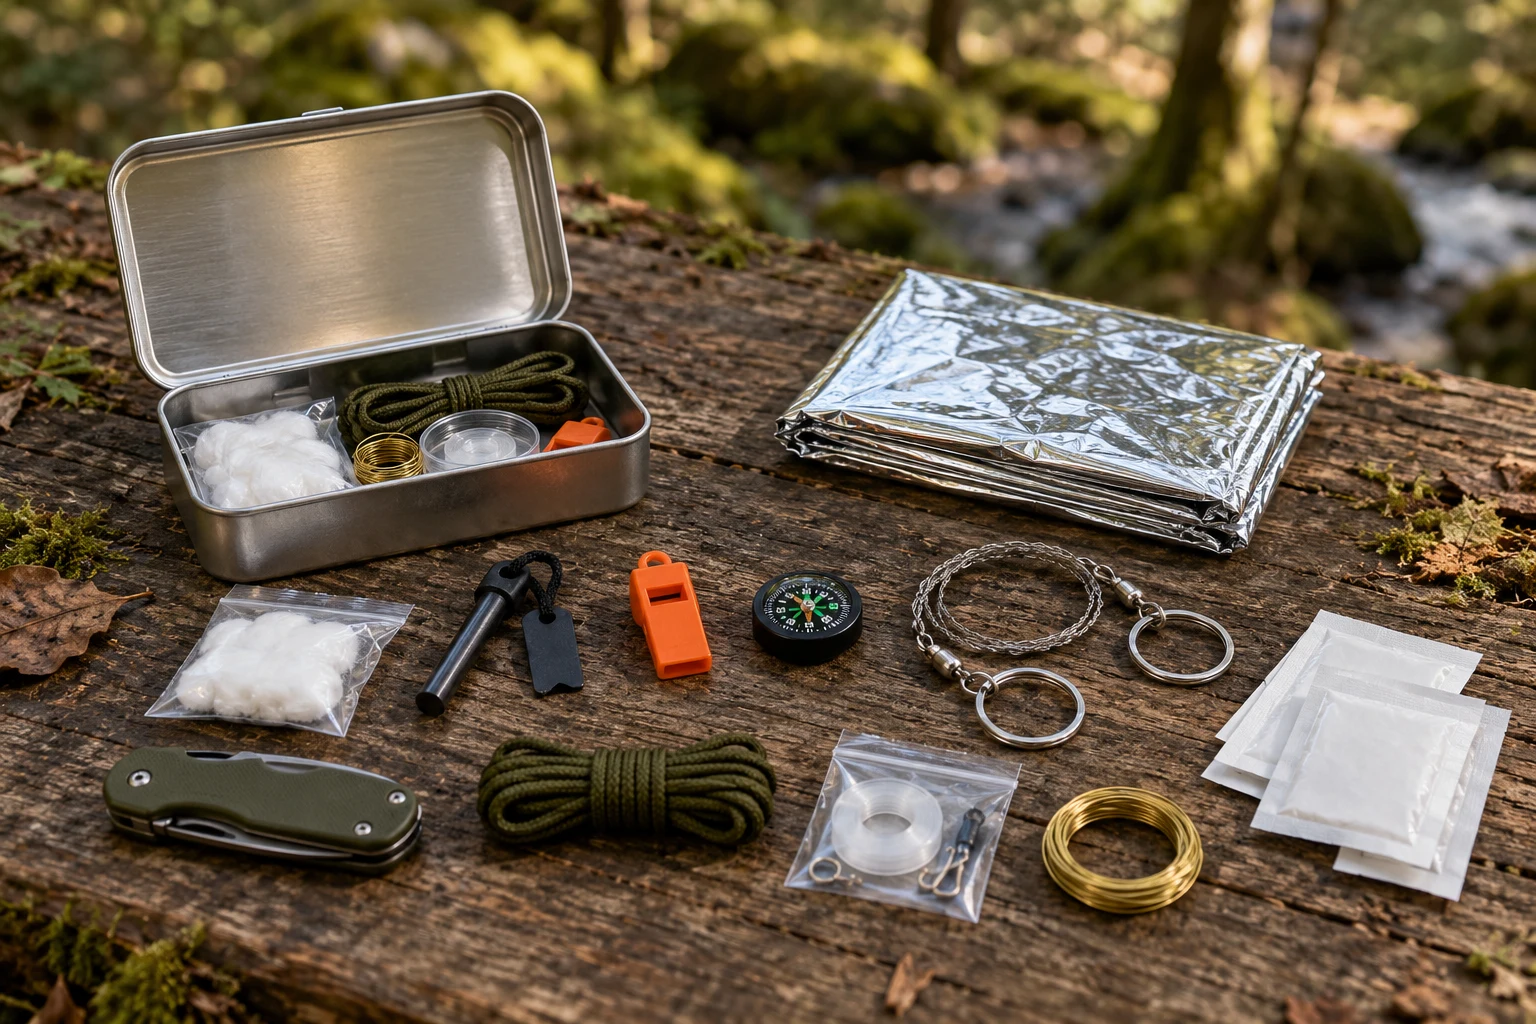
Also consider what stays with you when you put the pack down. In my service experience, our survival kit remained in our webbing when the Bergen came off. For civilian trips, think carefully about keeping appropriate emergency essentials securely on your person.
7. Judge Military Surplus on Its Actual Suitability
Military packs are often designed around demanding use, but the issue label alone does not tell you whether a particular pack is right for you.
Civilian packs can also be durable. Compare the individual designs, their condition and how comfortably they carry your intended load.
With surplus equipment, inspect:
- Stitching and fabric around load-bearing points.
- Shoulder straps and their attachments.
- Buckles, zips and closures.
- Frames and back supports, where fitted.
- Compression straps and external attachment points.
- Any missing components or previous repairs.
Consider the empty weight and how the pack was intended to work with other equipment. Features useful within a military carrying system may offer less benefit on an ordinary hike.
My service experience informs how I assess equipment, but it does not mean I have personally used every surplus pack or newer military system.
Choose on fit, condition and usefulness for your trip.
Before You Head Out
Pack your equipment, adjust the bag and take it on a shorter outing.
Check whether you can carry it comfortably, access what you need and keep the load stable. Inspect the waterproofing and practise opening and closing the bags properly.
The approach I recommend is straightforward: choose enough capacity for the equipment you need, make sure the pack fits under load, and protect its contents independently of the outer bag.
A tough rucksack earns its place when it carries comfortably and helps you arrive with usable equipment.
Explore packs, bags and carrying equipment at Muster Point Outfitters.
Sources and Further Reading
The waterproofing recollections above reflect my own Royal Marines experience. These sources informed the wider discussion of packing and fit; they do not establish a universal Royal Marines packing routine.
- British Army: Inside the Bergen: Packing Your Kit.
- Combined Cadet Force, Connected, Summer 2017: field equipment and Bergen packing guidance.
- Osprey: backpack sizing, fitting and packing guidance.